The short answer
You likely need a new chimney liner if your flue tiles are cracked or missing, the flue was never lined, or you are switching a boiler from oil to gas. BluePeak inspects the flue with a camera, sizes a liner to your appliance, and installs it from the roof down while protecting the inside of your home.
A chimney liner is the protective channel inside your flue that carries smoke and exhaust gases up and out of the house. In many older Staten Island homes, the original clay tiles have cracked, shifted or worn away, and some flues were never lined at all. A damaged or missing liner can let heat reach the wood framing around the chimney, allow carbon monoxide to seep into living spaces, and let acidic condensation eat into the brick and mortar. BluePeak Chimney Service installs new liners for fireplaces, wood stoves, inserts, boilers and water heaters in Staten Island and nearby cities. This page covers the warning signs, what the job includes, and what to expect on the day of the work.
Signs you need it
Liner damage is hard to see from inside the house, but it usually shows up in a few ways. If you notice any of these, schedule an inspection before your next fire or heating season.
- A smoke or creosote smell in the room, especially on humid days or when the fireplace is not in use
- Poor draft: smoke rolls into the room when you light a fire, or the fire is hard to keep going
- Pieces of clay tile, mortar or brick flakes collecting in the firebox or at the base of the flue
- White, chalky staining on the outside brick or on walls near the chimney, a sign that moisture is moving through the masonry
- Water dripping into the firebox or around the appliance connection after rain
- A recent or planned switch from oil to gas, or a new boiler, furnace or insert connected to the chimney
- An inspection report noting cracked, missing or unlined flue sections
What's included
Every liner installation follows the same core steps, adjusted for your chimney and the appliance it serves. Before any work starts, you get a clear explanation of what we found and what we plan to install.
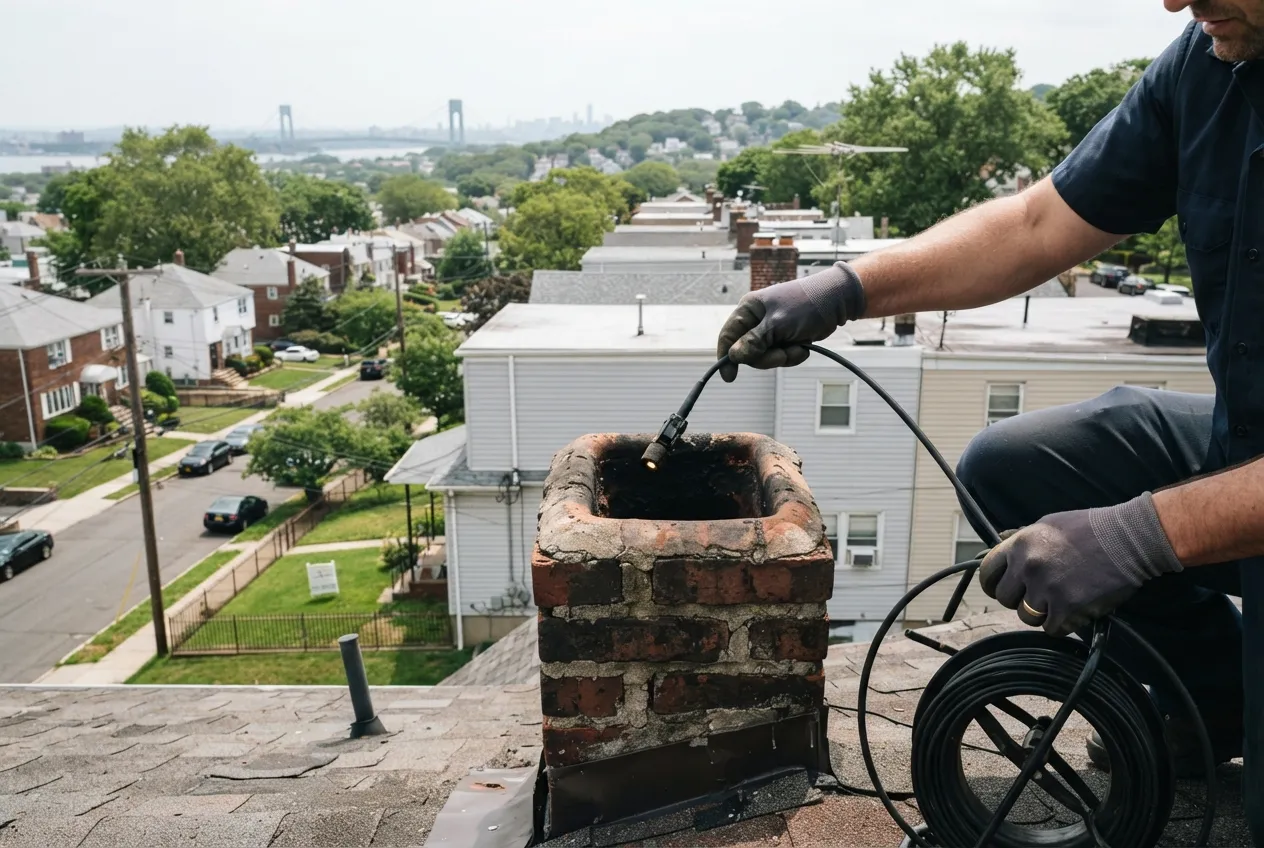
- Camera inspection of the existing flue, with the footage reviewed with you
- Measurement of the flue and sizing of the liner to the appliance it will vent
- Removal of broken clay tile or an old liner where needed to make room
- Sweeping of the flue to clear creosote, soot and loose debris
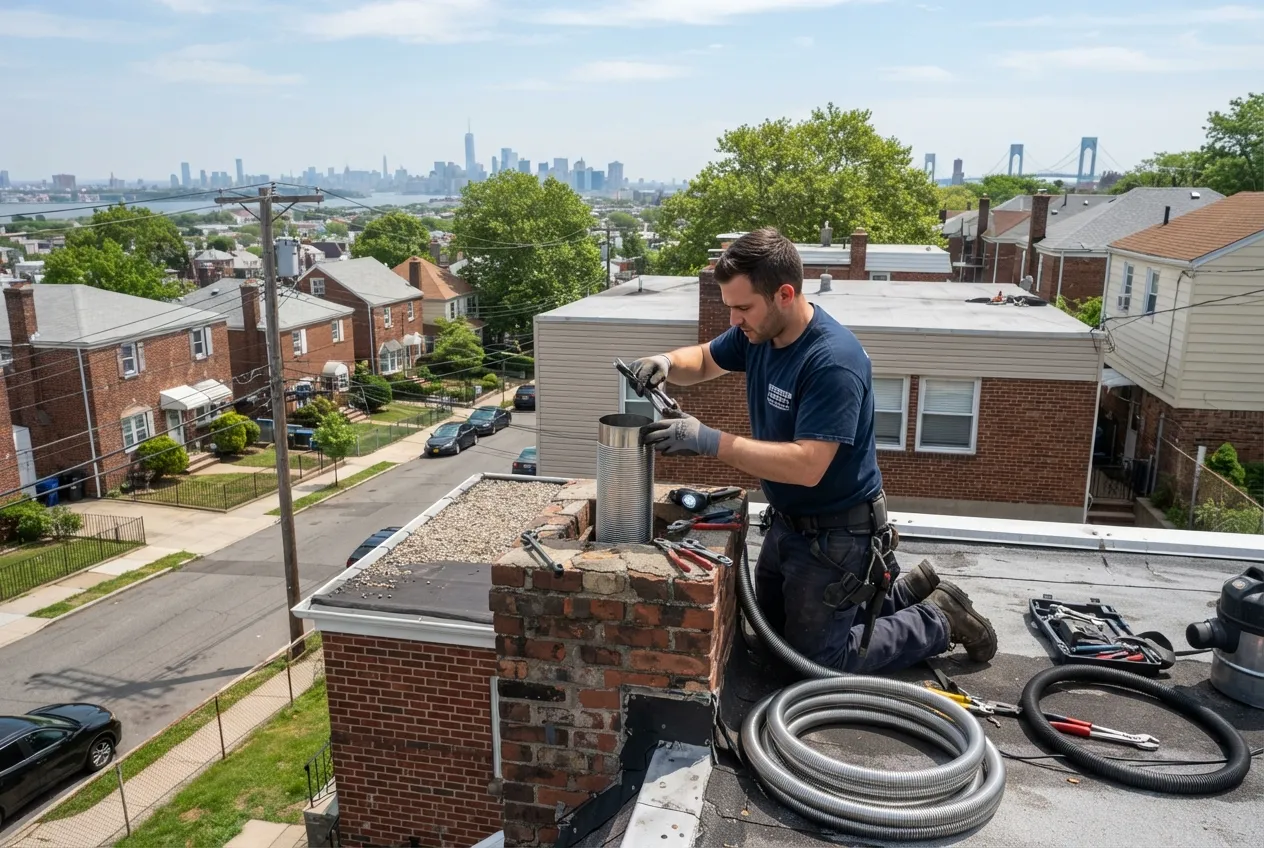
- Installation of a rigid or flexible stainless steel liner suited to your fuel type
- Insulation around the liner where the flue size and clearances call for it
- Connection at the bottom to the appliance, thimble or fireplace smoke chamber
- Top plate, storm collar and rain cap with an animal screen at the crown
- Final camera check, draft test, and photos of the finished work for your records
How our crew works inside your home and on the roof
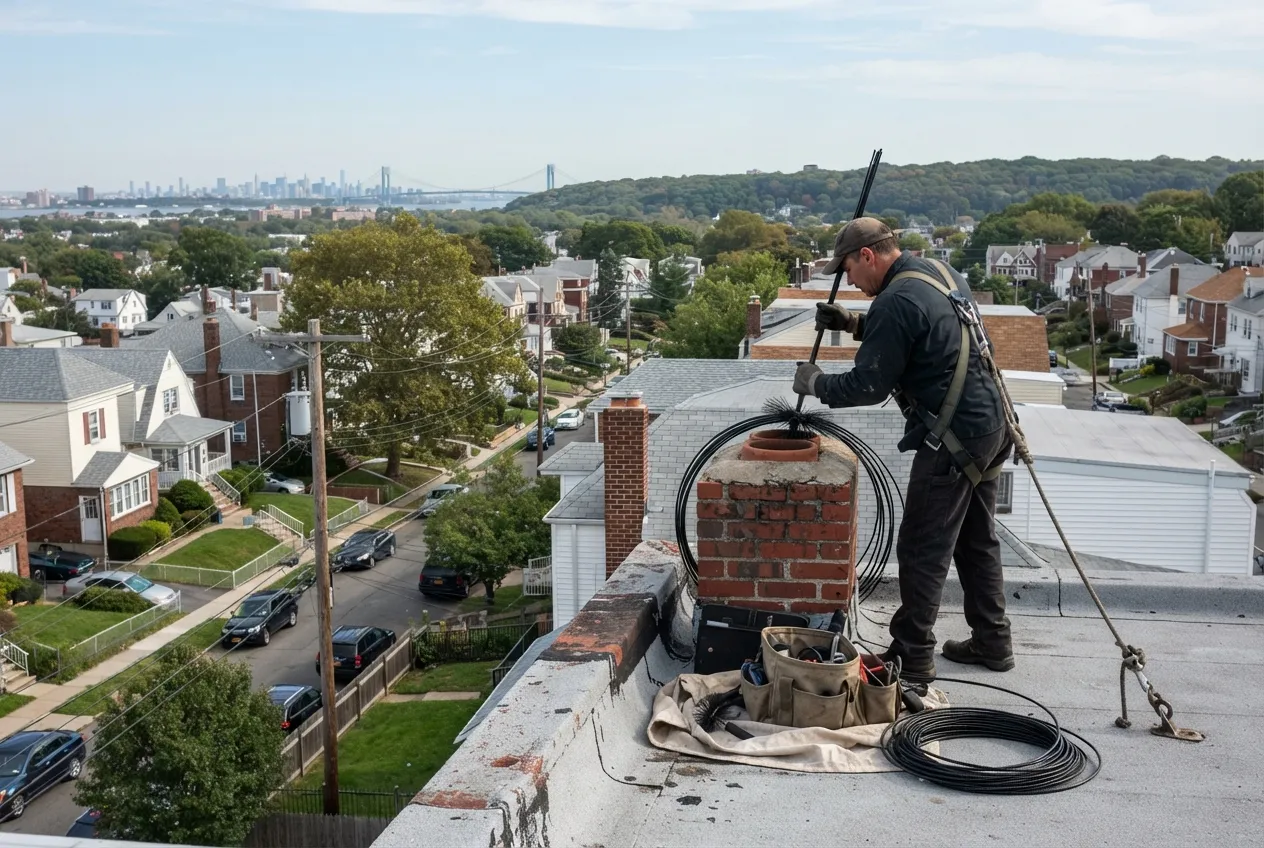
Inside, our certified technicians lay drop cloths from the door to the fireplace or appliance and seal off the opening before any brushing starts. HEPA vacuums run during sweeping and tile removal to capture soot and fine dust, and rotary brushes clear the flue walls so the new liner has a clean path. When a boiler or water heater is involved, we disconnect the vent pipe carefully and reconnect it to the new liner once the work is done.
On the roof, the crew sets up safe access, checks the crown and chimney cap, and feeds the liner down from the top. Flexible liners are lowered in one continuous run; rigid sections are joined as they go. We use the camera again once the liner is in place to confirm it is seated correctly and that nothing was left in the flue. Before we leave, the roof area around the chimney is cleared of debris and the inside work area is vacuumed.
Time for your annual chimney check?
The standard we follow
Our liner work follows NFPA 211, the national standard for chimneys, fireplaces and vents. It calls for these systems to be inspected once a year. Chimney professionals use three inspection levels: Level 1 when nothing has changed, Level 2 when the system changes, such as a new appliance or a switch of fuel, or when the home is sold, and Level 3 when a hidden hazard has to be reached by opening part of the chimney or building. A liner installation usually follows a Level 2 inspection, which includes the camera review of the flue.
Oil-to-gas conversions are a common reason for new liners in New York City. When a building converts its boiler from oil to gas, the chimney has to be evaluated as part of the work, and a new liner is often needed. Gas exhaust produces acidic condensate that can corrode a masonry flue over time, so an unlined or tile-lined chimney that worked fine with oil may not hold up once gas is running through it.
What affects the price
Every chimney is different, so we quote after we have seen yours. These are the main factors that shape the cost:
- Chimney height and how easy it is to reach the roof safely
- Fuel type and appliance, since wood, gas and oil each need a matching liner
- Flue size and shape, and whether the flue is straight or has offsets
- Condition of the existing tiles and how much has to be removed
- How much creosote or soot buildup has to be cleared first
- Whether a camera inspection, insulation, or masonry or crown repair is needed
How a visit works
It starts with an inspection. A technician looks at the fireplace or appliance, the chimney exterior and the crown, then runs a camera through the flue. We show you the footage, explain what we see, and give you a written quote for the liner and any related repairs.
Once you approve the work, we schedule the installation. Most single-flue jobs are finished in one visit, though removing damaged tile or making masonry repairs can add time. Because New York City's heat season runs from October 1 through May 31, many owners book liner work in late summer or early fall so the heating system is ready before cold weather. When the job is complete, we walk you through the finished work and leave you with photos for your records.
Chimney Liner Installation by city
- Chimney Liner Installation in Great Kills
- Chimney Liner Installation in Eltingville
- Chimney Liner Installation in Arden Heights
- Chimney Liner Installation in Rossville
- Chimney Liner Installation in Annadale
- Chimney Liner Installation in Huguenot
- Chimney Liner Installation in Prince’s Bay
- Chimney Liner Installation in Woodrow
- Chimney Liner Installation in Oakwood
- Chimney Liner Installation in Richmondtown
- Chimney Liner Installation in Tottenville
- Chimney Liner Installation in Charleston